Controlling 3D Objects With A Samsung Smart Watch
In this conceptual playground, I demonstrate how you can control objects in 3D space using A-Frame WebXR, Node.js. Socket.io, and a Samsung Galaxy Watch.
Prerequisites
To implement the web techonloiges mentioned you need an intermediate to advance HTML, JavaScript practical knowledge. The list of web technologie are as follows:
Software
Okay, let’s jump in!
Setting up A-Frame
<!-- index.html -->
<html>
<head>
<!-- A-Frame Script -->
<script src="https://aframe.io/releases/1.2.0/aframe.min.js"></script>
</head>
<body>
<a-scene>
<a-box position="-1 0.5 -3" rotation="0 45 0" color="#4CC3D9"></a-box>
<a-plane position="0 0 -4" rotation="-90 0 0" width="4" height="4" color="#7BC8A4"></a-plane>
<a-sky color="#ECECEC"></a-sky>
</a-scene>
</body>
</html>
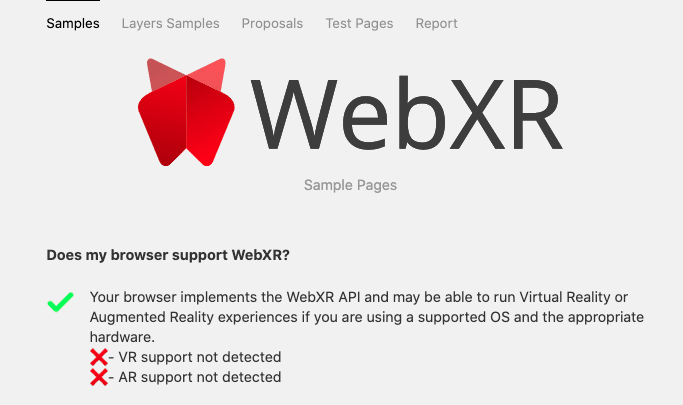
Not sure if your browser is capable of displaying WebXR content? Not to worry, visit this link to the “Does my browser support WebXR” web page.

Accessing Wearable Device Sensors
A Samsung Galaxy Watch can be either a wearable Web application, a Native or Hybrid derived application. My example is a Web application, basically a Web site stored on a wearable device.
To access sensor data, you implement a few lines of code. For example, the following sample JavaScript code below gives us access to Gyroscope sensor data:
var gyroscopeRotationVectorSensor = tizen.sensorservice.getDefaultSensor("GYROSCOPE_ROTATION_VECTOR");
function onGetSuccessCB(sensorData){
console.log("Get the gyroscope rotation vector sensor data");
console.log("x: " + sensorData.x);
}
function onerrorCB(error){
console.log("Error occurred");
}
function onsuccessCB(){
console.log("Sensor start");
gyroscopeRotationVectorSensor.getGyroscopeRotationVectorSensorData(onGetSuccessCB, onerrorCB);
}
gyroscopeRotationVectorSensor.start(onsuccessCB);
You can view a complete list of available device APIs for the Samsung Galaxy Watch here.
Moving 3D Objects In Real-Time
And finally, to remotely control objects in 3D space, you need to host and configure your Node.js server to allow socket.io to open a bidirectional real-time connection. You can use the following sample code to get started.
// Initiate a Socket,io connection for Node.js
const io = require('socket.io')(80);
const cfg = require('./config.json');
const tw = require('node-tweet-stream')(cfg);
tw.track('socket.io');
tw.track('javascript');
tw.on('tweet', (tweet) => {
io.emit('tweet', tweet);
});
Live Demo
You can watch a demo of these technologies working together below.